iMazing Manual
iMazing Configurator: Quick Start Guide

iOS device management is a vast and complex subject: MDM, Automated Device Enrollment (ADE/DEP), Volume Purchase (VPP), supervision and supervising identity, configuration profiles... If you're not already familiar with the subject, the lingo alone can be overwhelming. Likewise, iMazing Configurator's large array of settings and features can seem intimidating at first – it shouldn't be.
We've carefully designed our iMazing Configurator tools around a single simple workflow, letting you jump in and start configuring devices immediately. Whether you're a seasoned sys admin working for a large company, or a business owner curious about securing an iPhone or iPad running a point of sales app, read on or watch the video below to get started right away.
💡 New to iOS device management? Give this general overview of Apple's mobile device management technologies a read first or have a look to our Apple Device Management Glossary.
💡 Windows:
While iMazing Configurator blueprints can't be created or edited with iMazing for Windows, you can still apply them to Apple mobile devices on Windows. First, export the blueprint as a
.blueprintfile from the macOS version. Then, in Windows, apply it to your device using the Apply Blueprint action in the device Tools section.
Launch iMazing and create your first blueprint
- If you haven't already, download and install iMazing for Mac.
- Launch the app and select Configurator in the iMazing home screen sidebar:

- iMazing Configurator's section is your hub. The Blueprints section will be empty for now:

- Click the + button to create a new blueprint. This will take you to the blueprint editor:
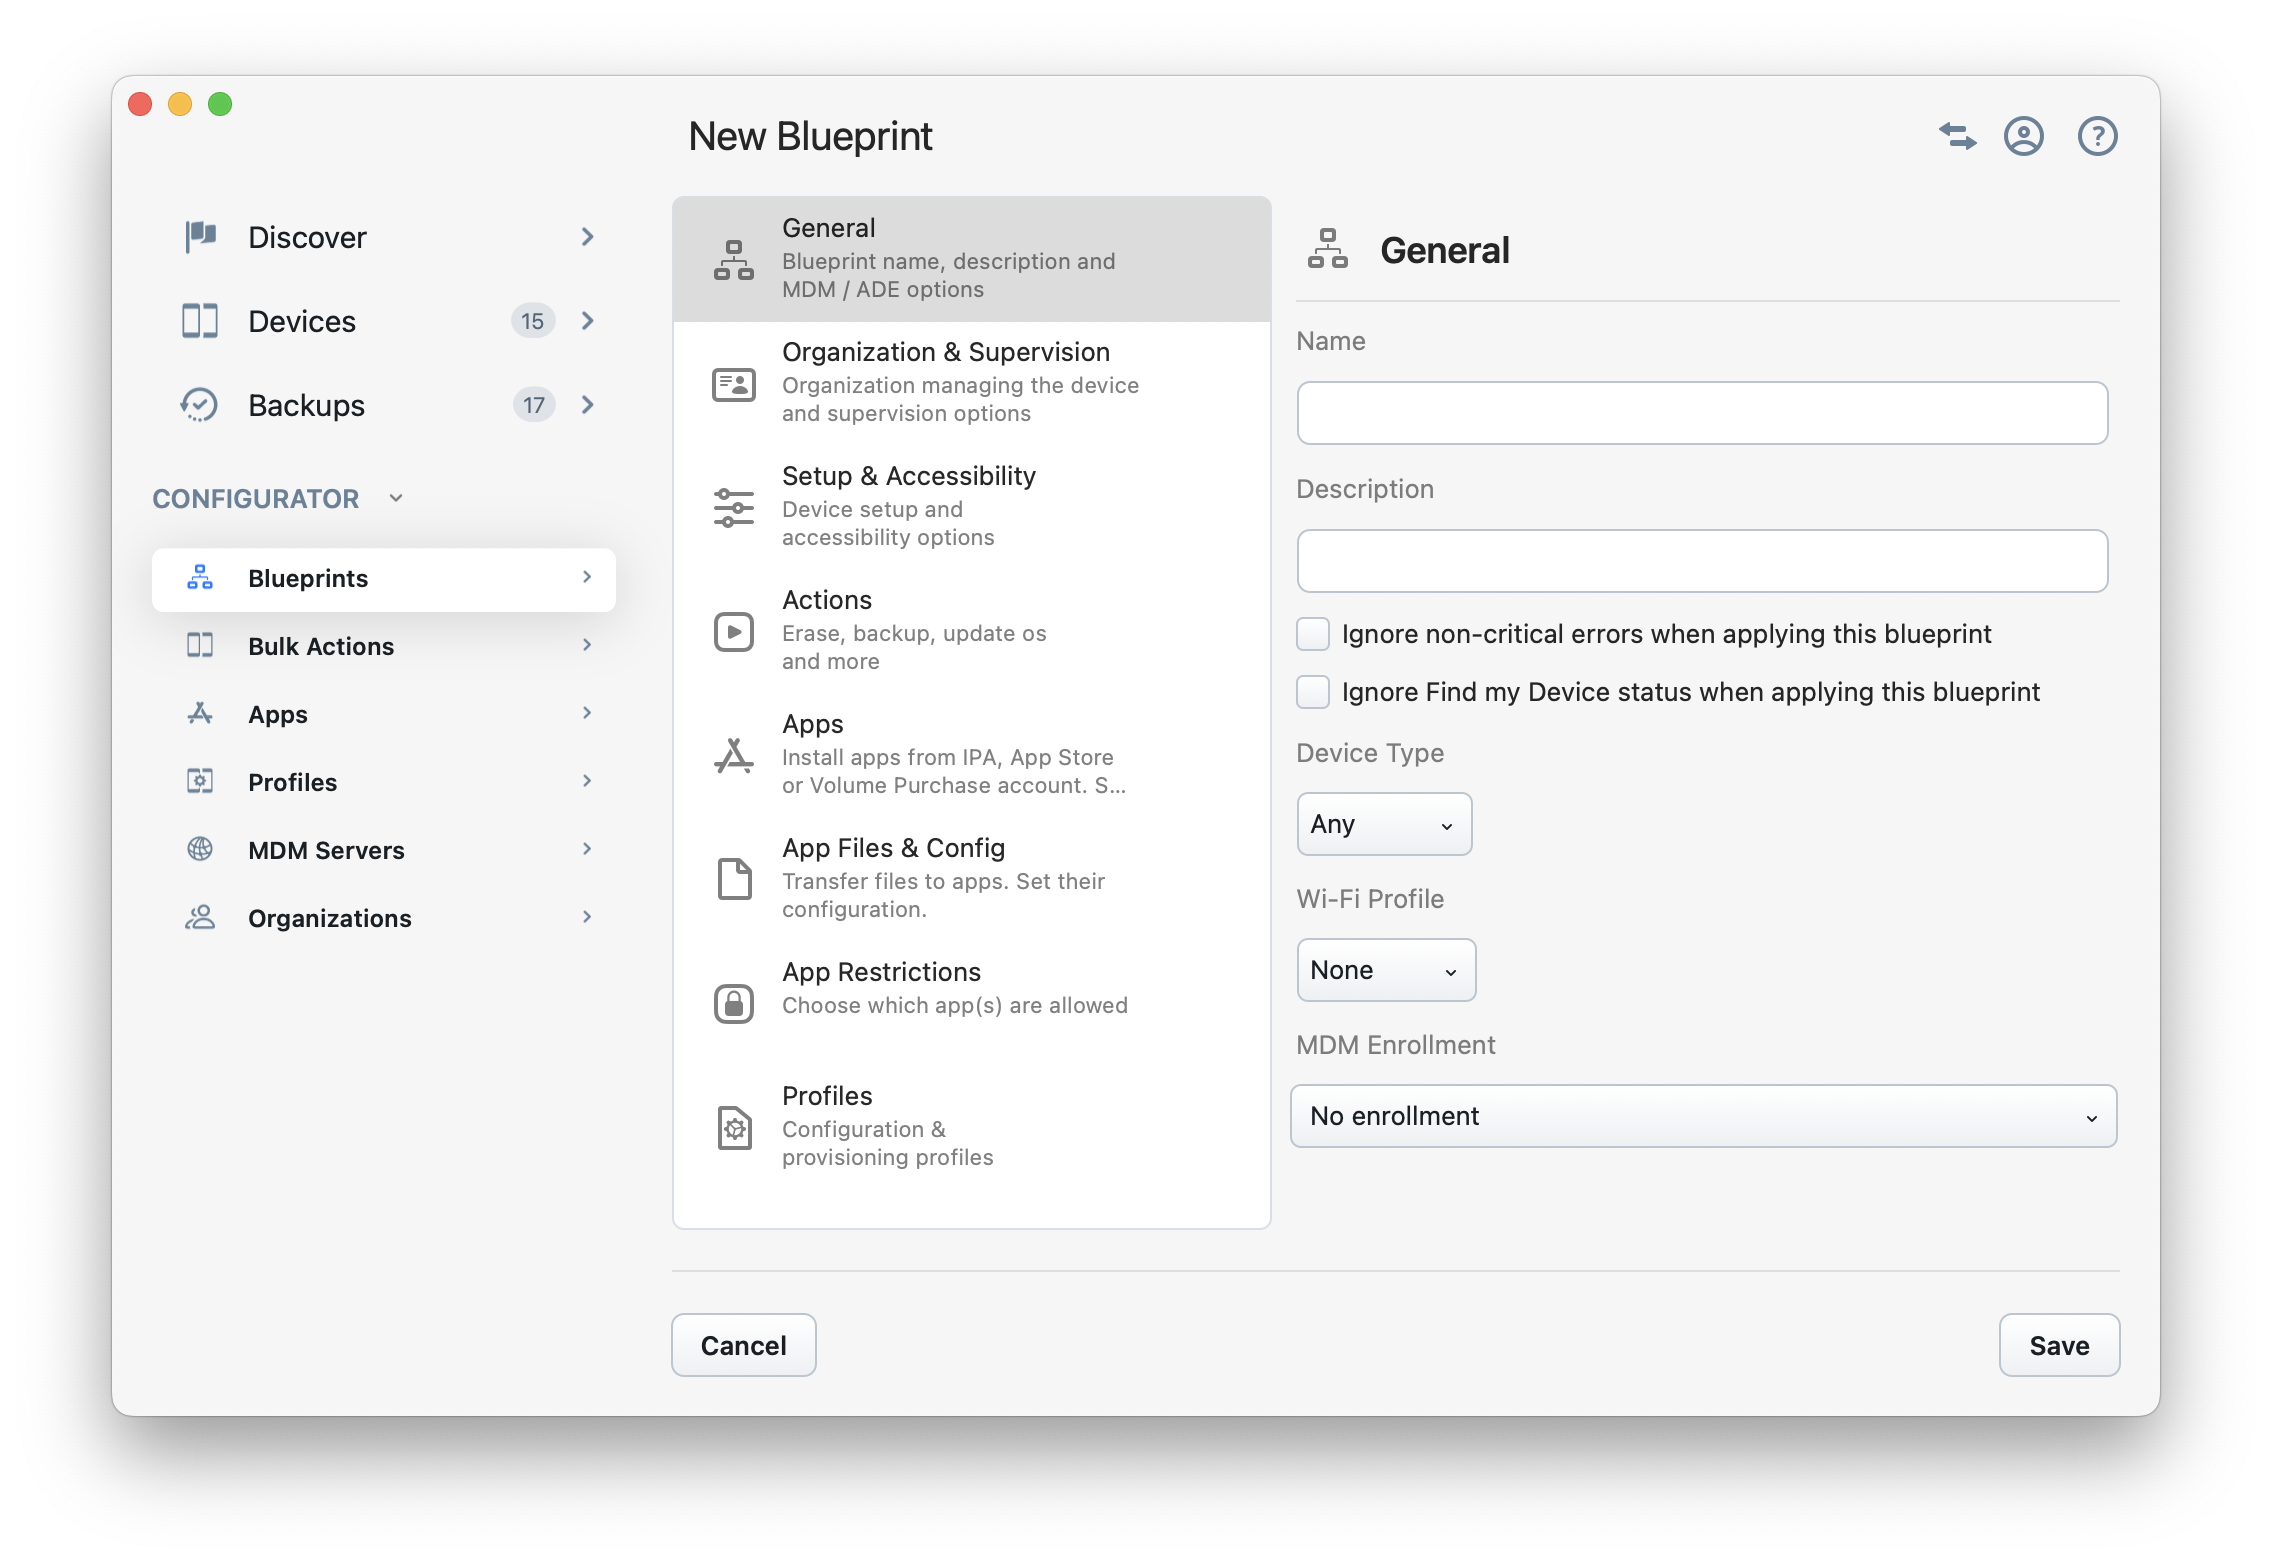
The majority of configuration tasks are achieved by configuring and applying a blueprint, that's why we start here. The blueprint editor lets you import and configure everything inline, letting you focus on your current configuration without having to go back to the main library.
Configure the blueprint
The blueprint editor divides available options in eight sections listed in the sidebar. The first two sections are of particular importance:
1. General
Here, you'll name your blueprint and add a brief description of its purpose. You can select a Wi-Fi profile to speed up deployment, enable Automated Device Enrollment, and allow devices to validate Volume Purchased apps. Thanks to integration with the embedded iMazing Profile Editor, you can create a Wi-Fi profile without leaving your current screen. If you're using an MDM, you can also streamline device enrollment using any of the available methods.
2. Organization & Supervision

To supervise an iOS device, you will need to choose an organization here. At first, your organization library will be empty, but you can easily create or import an organization inline without having to return to the main iMazing Configurator library.
- Click the Organization drop-down and select Choose... to display the Organizations library.
- Your Organizations library will be empty at first. Click the + button to create your first organization.
- Confirm and select the new organization you just created or imported.
You can now enable supervision in this blueprint.
💡 Note: If you manage devices that are already supervised locally, through an MDM solution, or via Automated Device Enrollment (ADE/DEP), you can easily import existing organizations or supervising identities. To learn more about organizations, follow this link.
3. Other sections
The six remaining sections contain the core configuration options: actions, apps, single app mode, wallpapers, app restrictions, profiles, and more. We recommend exploring each section thoroughly. When you need guidance, simply click the help button in the top-right corner—it will direct you to the relevant section of our online documentation based on your current view.
Save and apply the blueprint
Once you're satisfied with your blueprint, click Save at the bottom right of the window. you'll be taken back to the library where your blueprint will be listed along with a summary of configured sections. The Apply Blueprint button will appear in the lower right-hand corner:

To apply the blueprint, select it and click the Apply Blueprint button. iMazing will display the Operation Dispatcher View, from where you'll launch the current task on connected devices and monitor progress:

💡 Important:
The Execute Operation drop-down menu offers two options:
- On selected devices only — applies to devices connected to your computer and selected for blueprint application
- Automatically on all devices connected via USB — applies the blueprint automatically to every newly connected device
Additionally, our USB port number mapping feature lets you easily identify which device is connected to which port on a USB hub.
Select the devices you want to apply the blueprint to, and click the Launch button.
You can monitor detailed progress reports for each device during installation.
Once the process finishes, colored badges next to the devices will indicate the results:

💡 Status & Progress: Once an operation has been launched, you can easily monitor progress for each device by looking at the Status column.
Going further
This is just a glimpse of iMazing Configurator's capabilities. For a deeper understanding, please explore these additional articles:
- iMazing Configurator Overview
- iMazing Configurator: Blueprints Deep Dive
- iMazing Configurator: operation Dispatcher View
- Getting started with iMazing Profile Editor
And if you have any questions, we're always here to help.

Related Articles
- This guide for iMazing Version 2.
- iMazing Configurator Overview
- iMazing Configurator: Blueprints Deep Dive
- iMazing Configurator: Operation Dispatcher View
- Getting started with iMazing Profile Editor
- Understanding Supervision, MDM, ADE (DEP), and Volume Purchase (VPP)
- Apple Device Management Glossary
Support Center
Related Videos

Enterprise License Information Request
Thank you! We'll be in touch shortly.